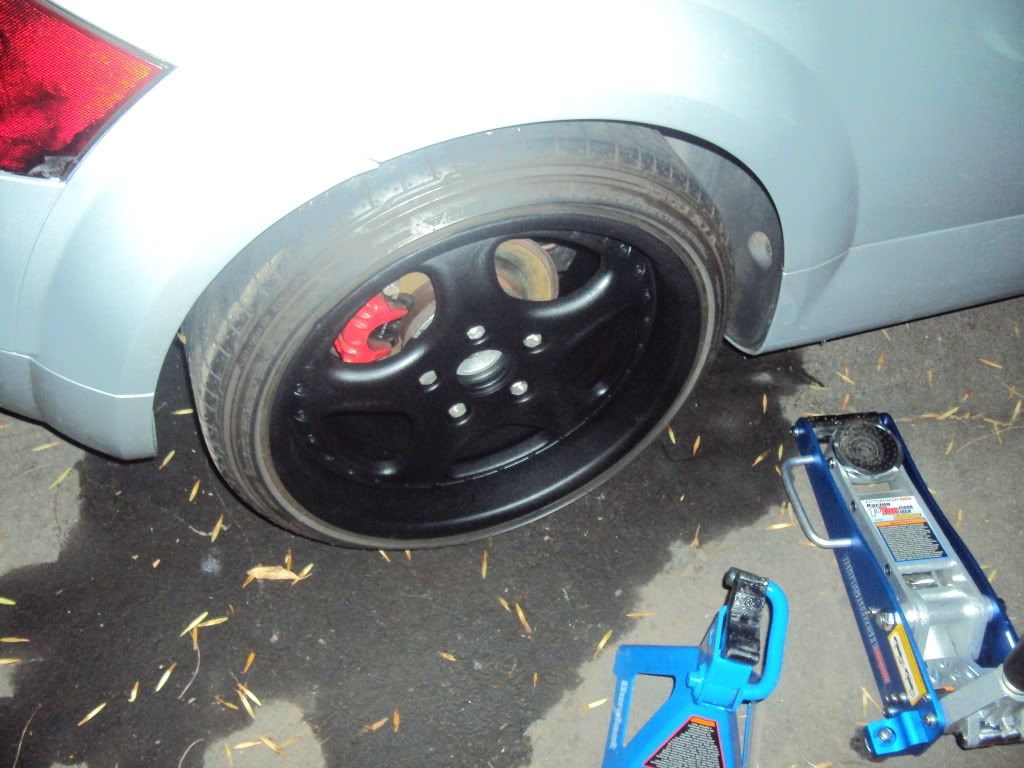
Refurbishing The Wheels
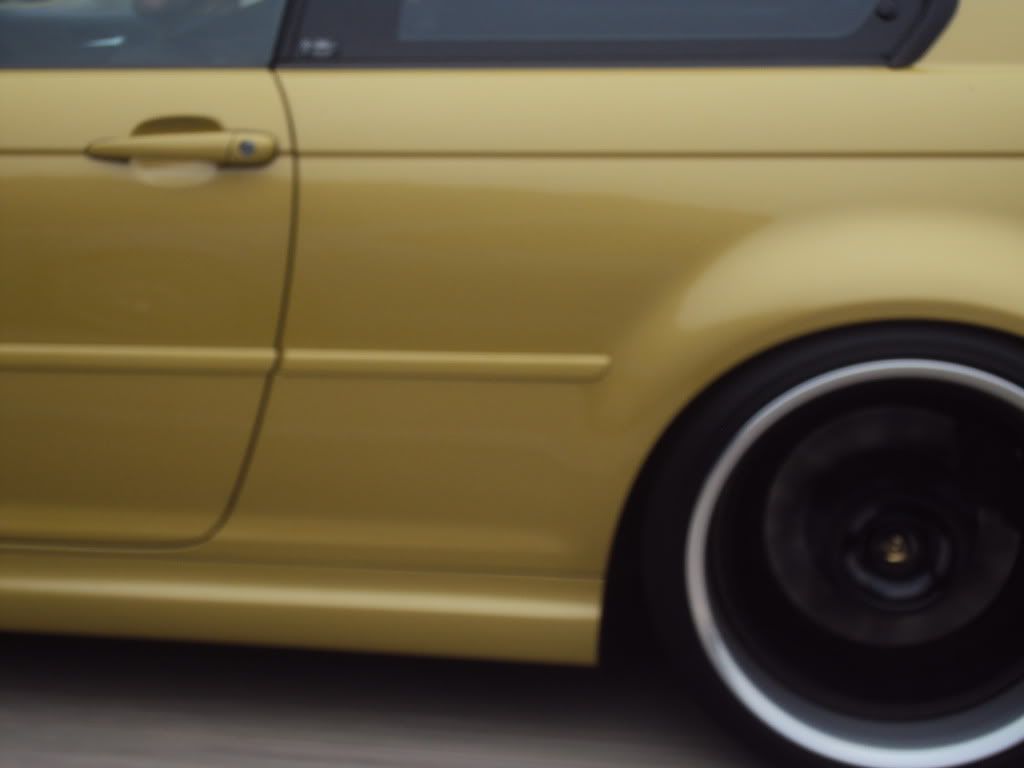
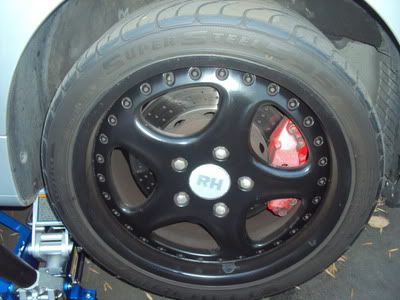
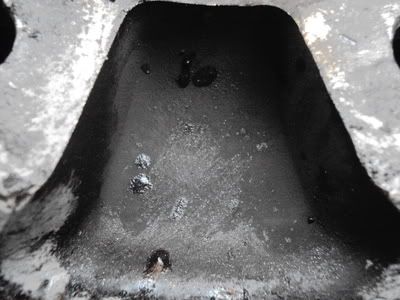
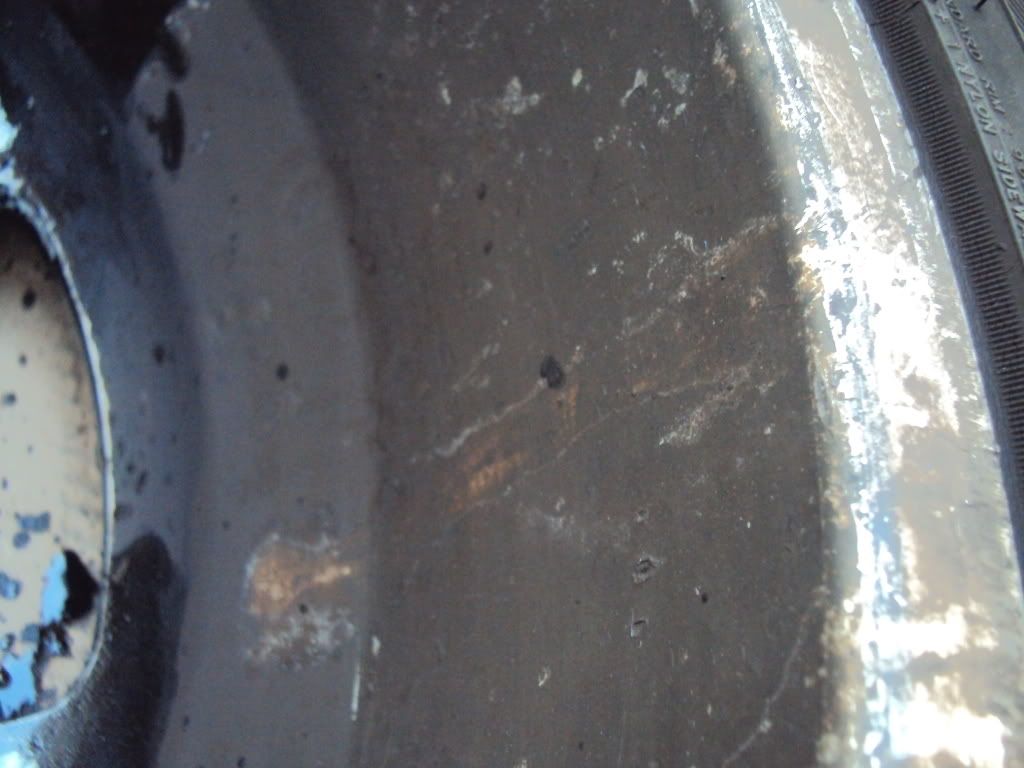
They went from this:
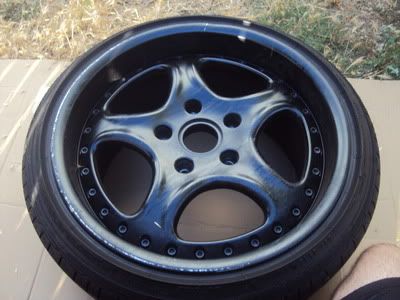
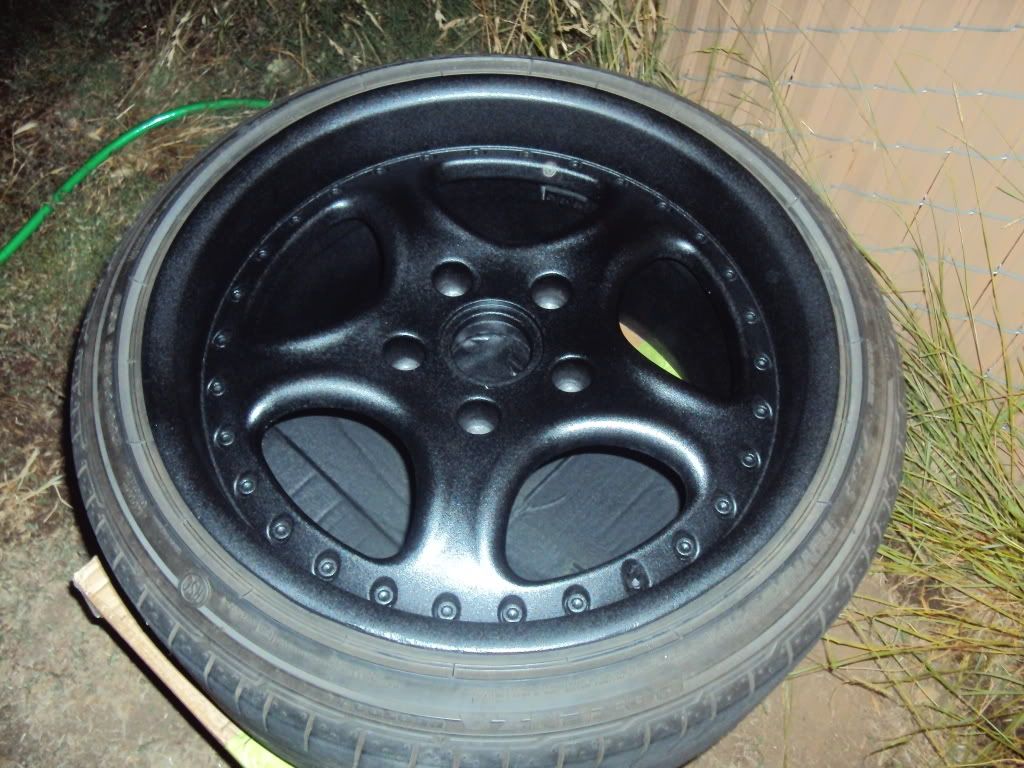
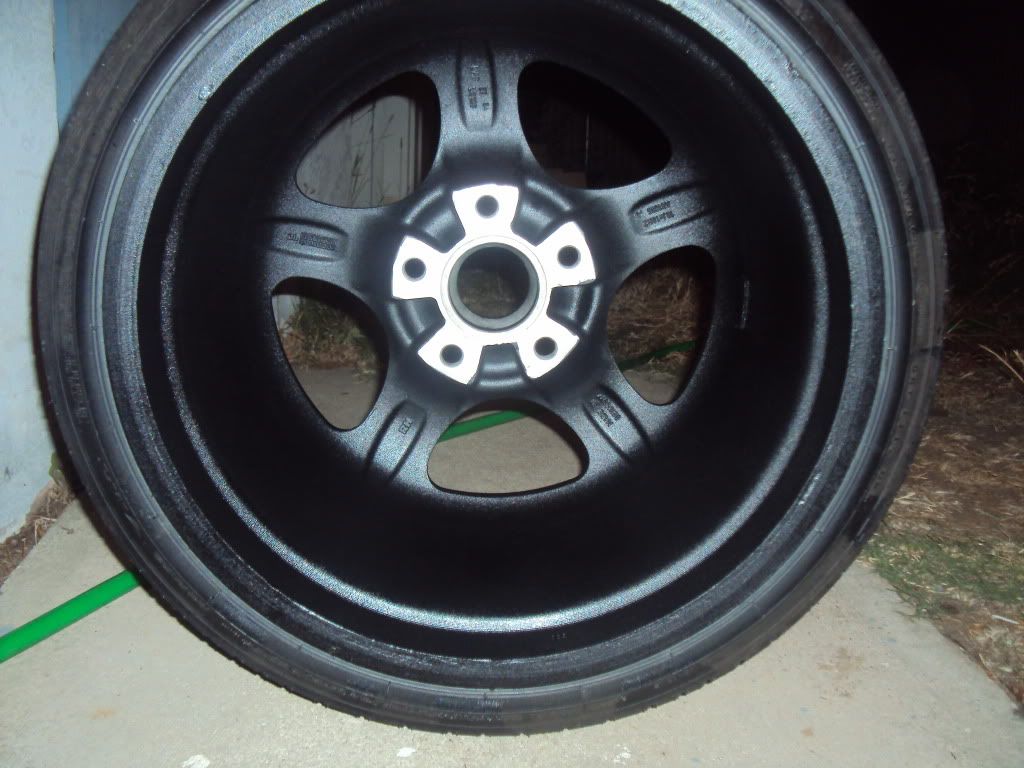
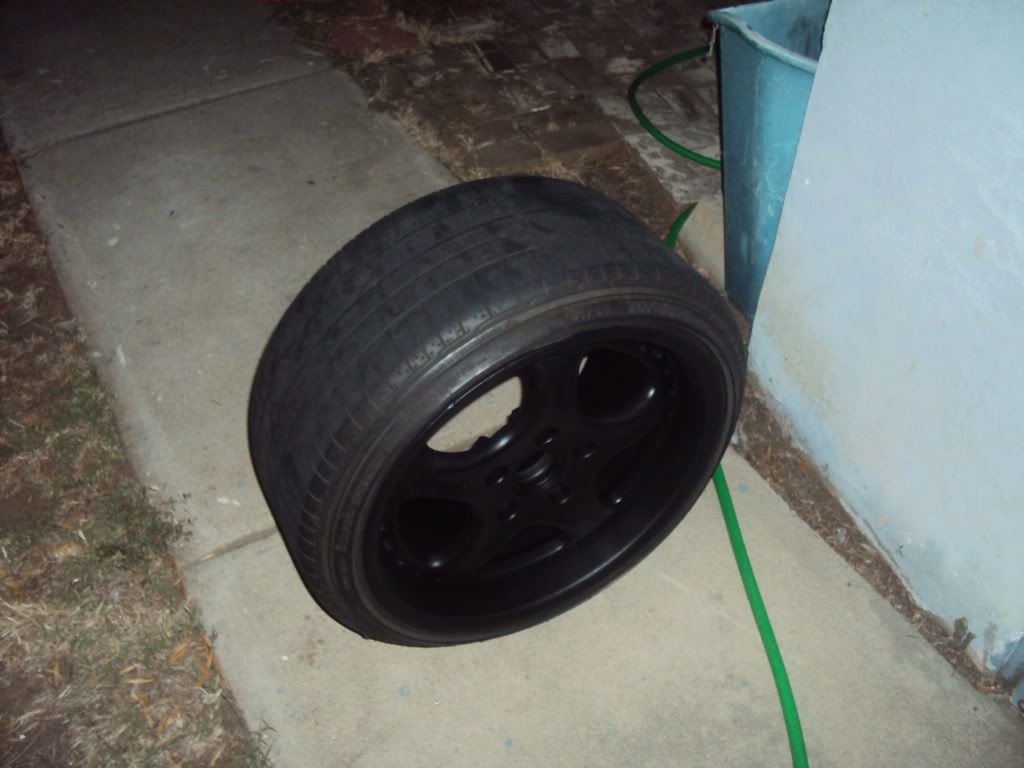
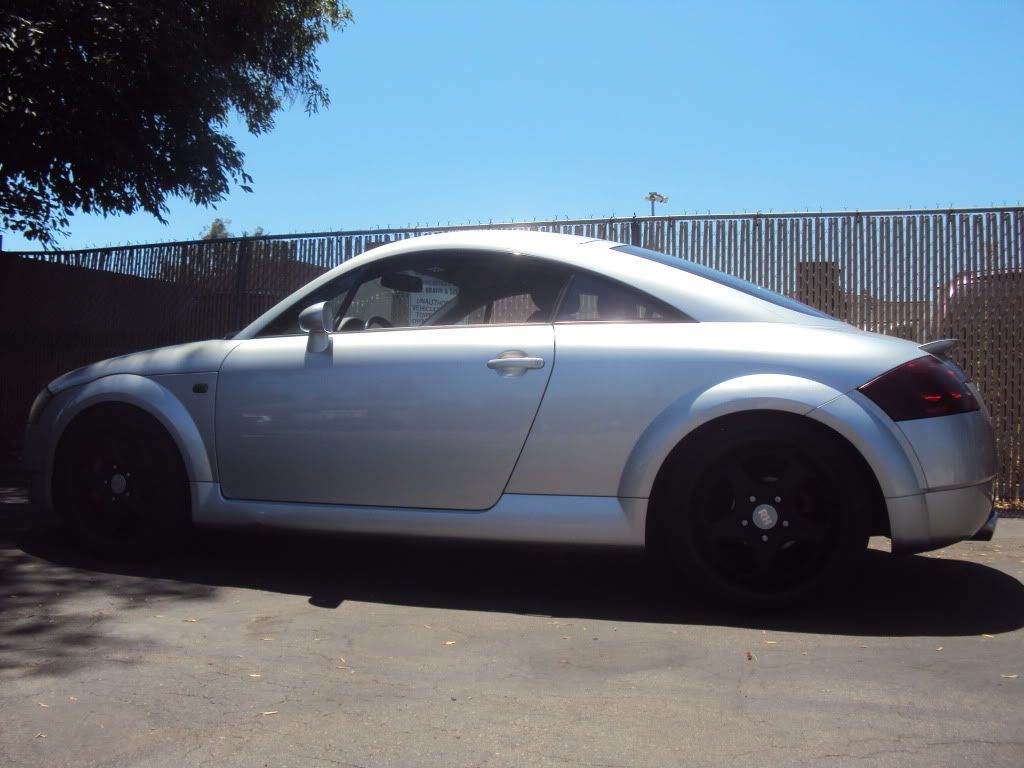
To this:
 Since I don't have the money to get my wheels sandblasted and powder coated, I decided that I would give it a shot at refurbishing the wheels myself
. I had originally spray painted the wheels using Duplicolor's wheel spray paint with a glossy black and the wheels turned out, eh, just okay. However, it has been a year since then, and since I didn't properly do it the first time, I thought I should do it now. It's even more of an excuse to re-do them because of all the curb damage that I have caused :-x. (You know when you did a crappy job on something and end up just not caring? ..yeah, that's how I felt haha) But now it's a different story..
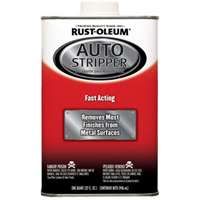
First thing I went out to get was Rust-Oleum's Auto Stripper.
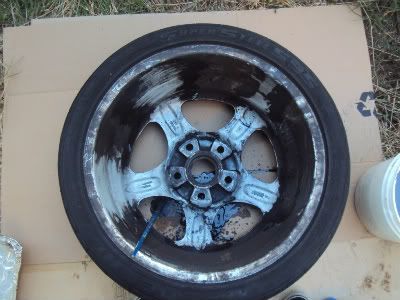
This helped remove all the brake dust build-up from the inside. I realized later that this part of the job could have been done easier with a power-washer but I didn't have one at the time because my friend made the suggestion after I finished the job.
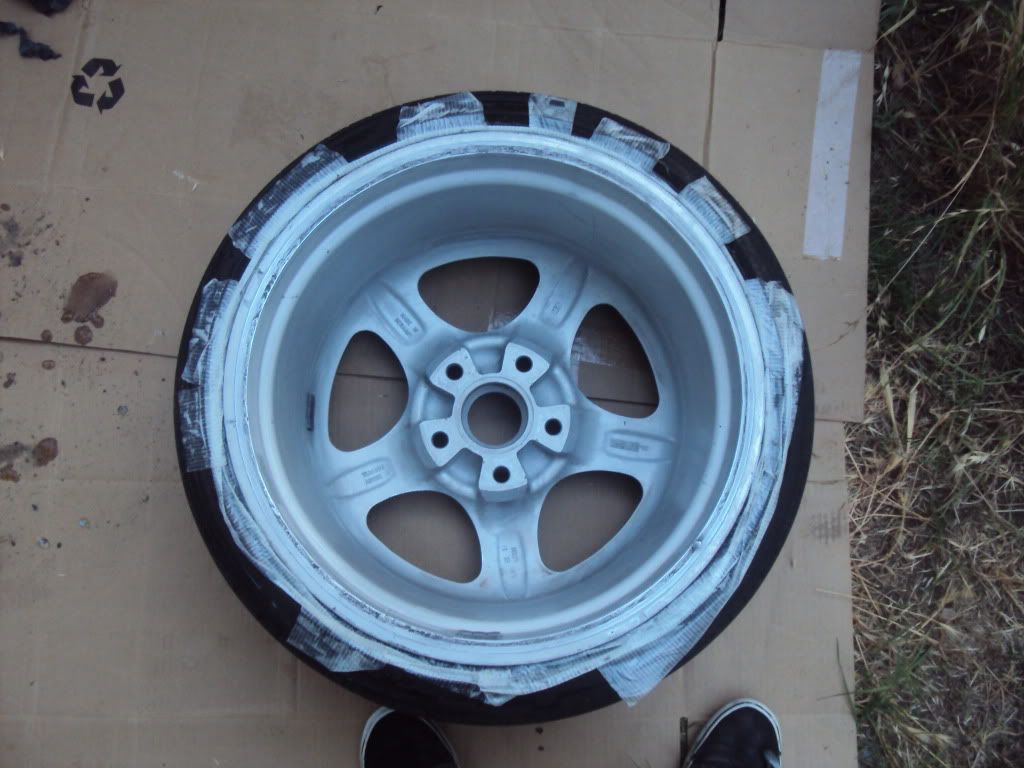
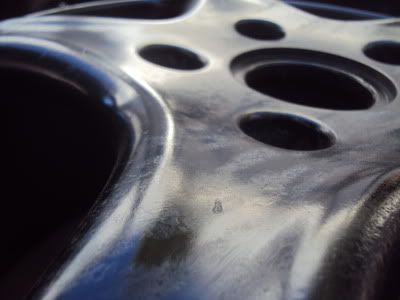
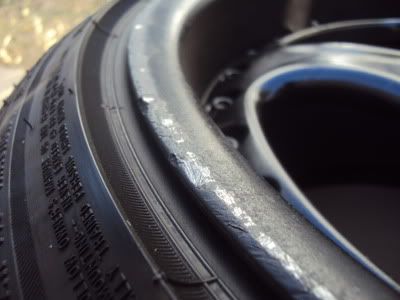
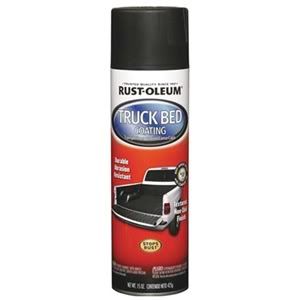
After that, I sanded down the wheels to a nice smooth surface inside, and out. I taped around the tires so that I wouldn't get any paint on them and then, sprayed away using Rust-Oleum's bed liner spray (made for truck beds for non-slipping).
;)
I decided to go with this paint because I tried to get as close to TEFLON coating as I could without having the headache of having to heat TEFLON onto my wheels to 500+ degrees, having to put the tires off and back on. Plus, it gave me that matte black look that I love and they are easier to clean! They are also made so that it is very hard to chip away, hence the fact that the paint was made for keeping things from not slipping off of its surface. I used about 1 spray can per wheel. So, in conclusion, I bought 4 cans + 2 cans of paint stripper equaling to $50 versus almost $500 as I was quoted by a few places for a sandblasting and powder coating service. Obviously, a powder coat would be the easier, and probably longer lasting way to go, but for now, spray-painting does the job!
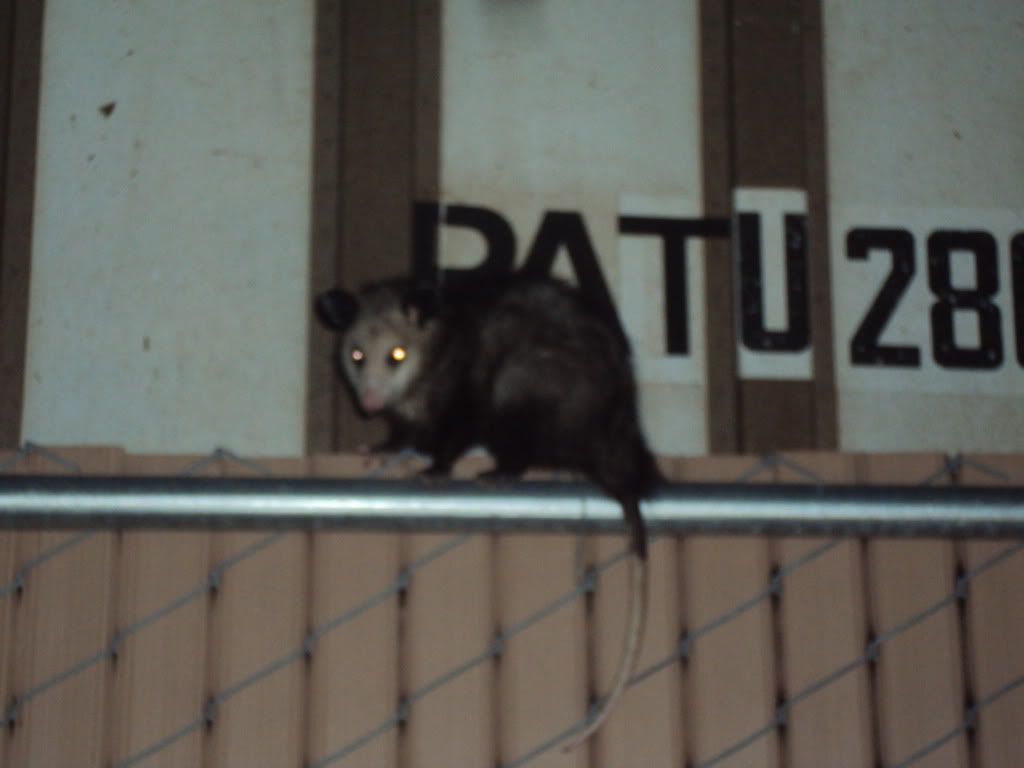
Oh and I almost forgot. I had a little friend come and visit me one of the late nights that I stayed up doing this :)